How To Cook A Turkey With The Plastic Leg Holder: A Complete Guide
Have you ever wondered what to do with the plastic leg holder when cooking a turkey? This small but important component often leaves home cooks puzzled. Whether you're preparing your first Thanksgiving turkey or you're a seasoned chef, understanding how to handle the plastic leg holder is essential for a safe and delicious meal. Many people are unsure whether the plastic piece should stay in the turkey during cooking or be removed beforehand. In this article, we’ll answer all your questions, provide step-by-step instructions, and ensure your turkey turns out perfectly every time.
Before diving into the specifics, it’s important to note that the plastic leg holder, also known as a turkey hock lock, is not meant to stay in the turkey during cooking. Leaving it in can lead to melted plastic and potential contamination of your food. However, removing it properly is just as crucial to avoid damaging the turkey or affecting its presentation. This guide will walk you through everything you need to know about handling the plastic leg holder safely and effectively.
By the end of this article, you’ll have a clear understanding of how to prepare your turkey for cooking, ensuring both safety and flavor. Whether you're a beginner or an experienced cook, this guide will equip you with the knowledge to handle the plastic leg holder with confidence. Let’s get started!
Read also:Expert Insights From Jaremy Smith A Guide To Success
Table of Contents
- What is a Turkey Leg Holder?
- Why Remove the Plastic Leg Holder?
- How to Remove the Plastic Leg Holder Safely
- Step-by-Step Guide to Cooking a Turkey
- Common Mistakes to Avoid When Cooking a Turkey
- Tips for a Perfectly Cooked Turkey
- Safety Precautions When Cooking Turkey
- Alternative Methods for Turkey Cooking
- Frequently Asked Questions
- Conclusion
What is a Turkey Leg Holder?
The plastic leg holder, commonly referred to as a turkey hock lock, is a small piece of plastic used to hold the turkey's legs together during packaging and transportation. Its primary purpose is to maintain the turkey's shape and prevent the legs from spreading apart, which could damage the bird during transit. This component is typically found on commercially packaged turkeys and is not intended for cooking purposes.
Manufacturers use food-safe plastics for these holders, but they are not designed to withstand high cooking temperatures. When exposed to heat, the plastic can melt, releasing harmful chemicals into your food. Understanding the purpose and limitations of the turkey leg holder is the first step in ensuring a safe and successful cooking experience.
Key Features of a Turkey Leg Holder
- Usually made from food-safe plastic.
- Designed to hold the turkey legs together.
- Not heat-resistant and should not be cooked.
Why Remove the Plastic Leg Holder?
Removing the plastic leg holder is crucial for both safety and quality reasons. Cooking the turkey with the plastic leg holder still attached can lead to serious issues, including melted plastic contaminating your food. When plastic melts, it releases chemicals that can pose health risks if consumed. Even if the plastic doesn’t fully melt, it can warp and leave an unpleasant taste or texture in your turkey.
Additionally, leaving the plastic leg holder in place can affect the turkey's cooking process. Heat distribution may be uneven, leading to undercooked or overcooked areas. Removing the holder ensures that your turkey cooks evenly and reaches the proper internal temperature, which is essential for food safety.
Risks of Not Removing the Plastic Leg Holder
- Melted plastic contaminating the turkey.
- Potential health risks from chemical exposure.
- Uneven cooking and improper heat distribution.
How to Remove the Plastic Leg Holder Safely
Removing the plastic leg holder is a straightforward process, but it requires care to avoid damaging the turkey. Follow these steps to ensure a smooth removal:
- Prepare Your Workspace: Place the turkey on a clean cutting board or surface. Ensure your hands are clean and dry to prevent slipping.
- Locate the Holder: Identify the plastic leg holder at the base of the turkey's legs. It’s usually a small piece of plastic securing the legs together.
- Inspect the Holder: Check if the holder has any sharp edges or parts that could damage the turkey during removal.
- Gently Remove the Holder: Use your fingers or a pair of kitchen scissors to carefully detach the holder. Avoid pulling too hard, as this could tear the skin or damage the turkey.
- Dispose of the Holder: Once removed, discard the plastic leg holder in the trash. Do not reuse it or attempt to clean it for future use.
By following these steps, you can safely remove the plastic leg holder and prepare your turkey for cooking without any complications.
Read also:Nellys Hot In Herre Lyrics The Ultimate Guide
Troubleshooting Tips
- If the holder feels stuck, use kitchen scissors to cut it away carefully.
- Avoid using excessive force to prevent tearing the turkey’s skin.
- Inspect the turkey for any remaining plastic pieces after removal.
Step-by-Step Guide to Cooking a Turkey
Now that you’ve removed the plastic leg holder, it’s time to focus on cooking the turkey. Follow this step-by-step guide to ensure a delicious and perfectly cooked turkey:
- Thaw the Turkey: If your turkey is frozen, thaw it in the refrigerator for 24 hours for every 4-5 pounds of weight. Avoid thawing at room temperature, as this can lead to bacterial growth.
- Preheat the Oven: Set your oven to 325°F (165°C). This temperature ensures even cooking and helps the turkey reach a safe internal temperature.
- Prepare the Turkey: Remove the giblets and neck from the cavity, if present. Pat the turkey dry with paper towels to promote crispy skin.
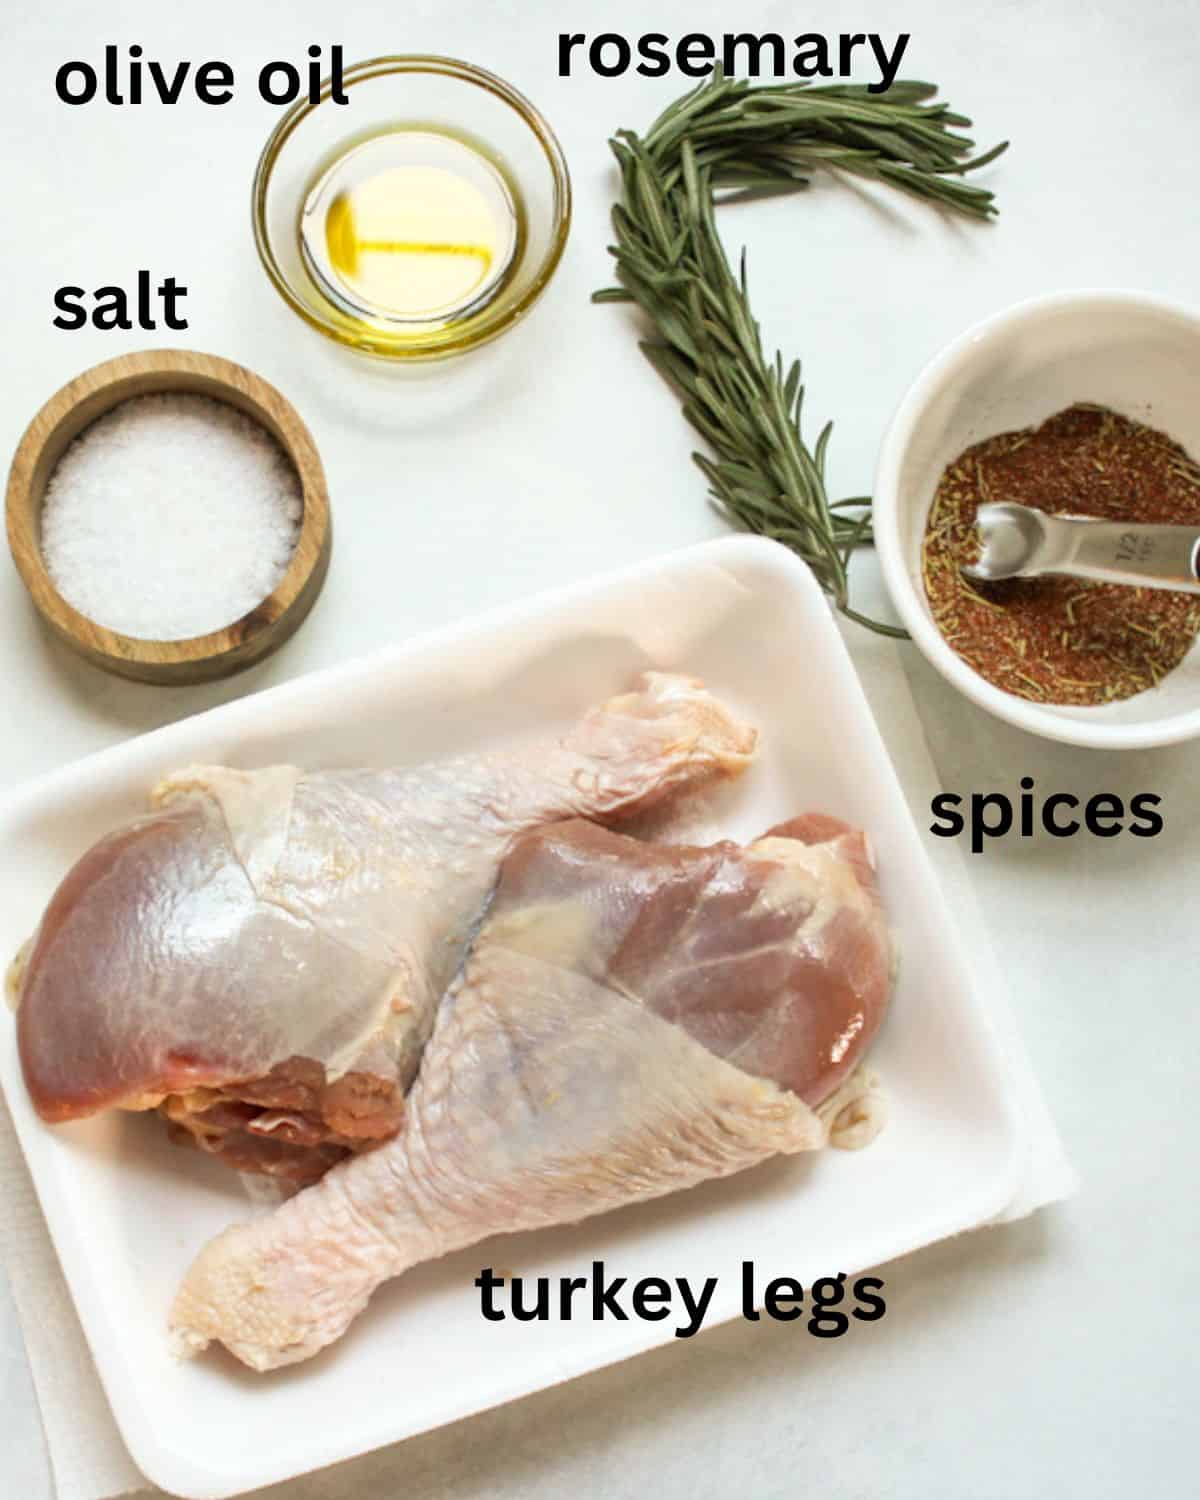
- Season the Turkey: Rub the turkey with your choice of seasonings, such as salt, pepper, herbs, and butter. You can also stuff the cavity with aromatics like onions, garlic, and herbs for added flavor.
- Truss the Turkey: Use kitchen twine to tie the legs together. This helps the turkey cook evenly and maintain its shape.
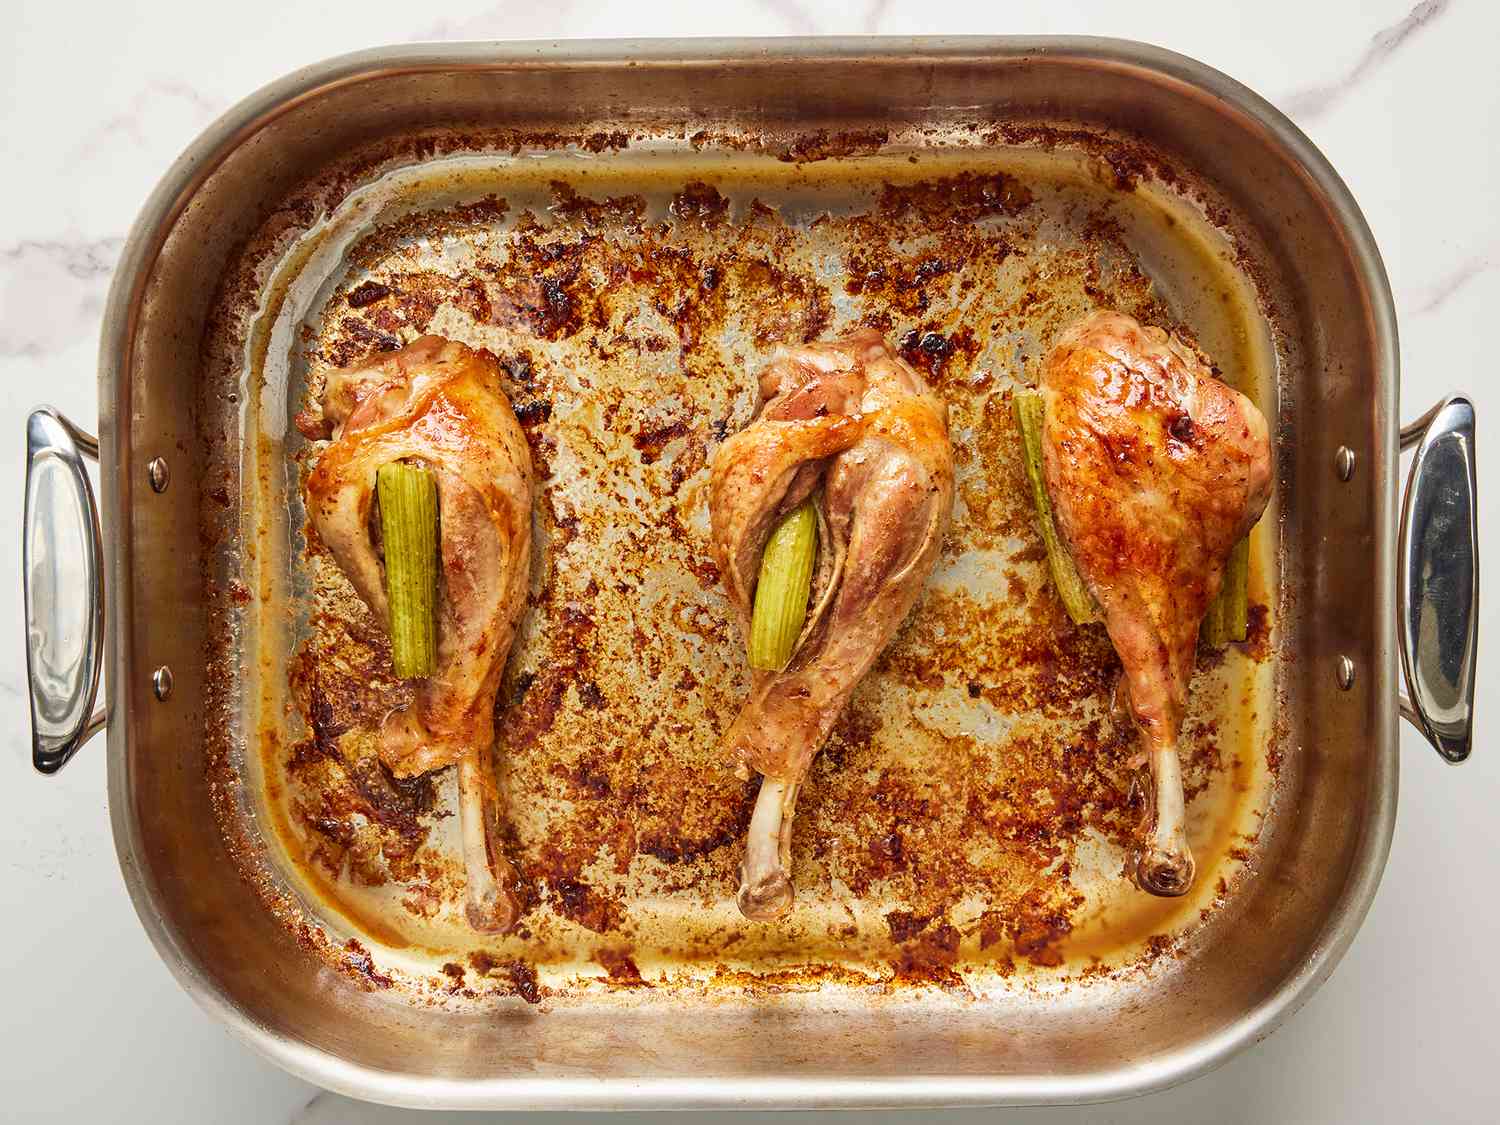
- Roast the Turkey: Place the turkey breast-side up on a roasting pan. Cook for approximately 15 minutes per pound, or until the internal temperature reaches 165°F (74°C) in the thickest part of the breast and thighs.
- Check the Temperature: Use a meat thermometer to ensure the turkey is fully cooked. Insert the thermometer into the thickest part of the meat, avoiding bones.
- Rest the Turkey: Let the turkey rest for 20-30 minutes before carving. This allows the juices to redistribute, resulting in a juicier bird.
Tips for Even Cooking
- Use a roasting rack to elevate the turkey and promote air circulation.
- Baste the turkey with pan juices every 30 minutes for extra flavor and moisture.
- Cover the turkey with foil if the skin starts to brown too quickly.
Common Mistakes to Avoid When Cooking a Turkey
Even experienced cooks can make mistakes when preparing a turkey. Here are some common pitfalls to avoid:
- Not Thawing Properly: Cooking a partially frozen turkey can lead to uneven cooking and foodborne illness.
- Overcooking the Turkey: Overcooking can result in dry, tough meat. Use a meat thermometer to prevent this.
- Skipping Resting Time: Failing to let the turkey rest can cause the juices to escape, leaving the meat dry.
- Using Too Much Salt: Excessive seasoning can overpower the turkey’s natural flavor.
By avoiding these mistakes, you can ensure a delicious and safe turkey for your meal.
Tips for a Perfectly Cooked Turkey
Here are some expert tips to take your turkey cooking skills to the next level:
- Brine the Turkey: Brining enhances flavor and keeps the meat moist. Use a saltwater solution or a dry brine for best results.
- Use a Flavor Injector: Inject marinades or butter into the turkey for added moisture and flavor.
- Cook Breast-Side Down: Start cooking the turkey breast-side down for the first half of the cooking time, then flip it for even browning.
- Add Aromatics: Stuff the cavity with citrus fruits, herbs, and spices for a fragrant and flavorful turkey.
Safety Precautions When Cooking Turkey
Cooking a turkey requires attention to food safety to prevent contamination and illness. Follow these precautions:
- Wash Your Hands: Always wash your hands before and after handling raw turkey.
- Clean Surfaces: Sanitize cutting boards, utensils, and countertops after contact with raw turkey.
- Separate Raw and Cooked Foods: Avoid cross-contamination by keeping raw turkey away from other foods.
- Check Internal Temperature: Ensure the turkey reaches 165°F (74°C) in the thickest parts to kill harmful bacteria.
Alternative Methods for Turkey Cooking
If you’re looking to try something different, here are some alternative methods for cooking a turkey:
- Deep-Frying: Deep-fried turkey is crispy on the outside and juicy on the inside. Use a turkey fryer and follow safety guidelines carefully.
- Smoking: Smoking adds a rich, smoky flavor to the turkey. Use a smoker and low, steady heat for best results.
- Grilling: Grill the turkey for a charred, flavorful exterior. Use indirect heat to prevent burning.
- Slow-Cooking: Cook the turkey in a slow cooker for tender, fall-off-the-bone meat.
Frequently Asked Questions
Here are answers to some common questions about cooking a turkey:
Can I Cook a Turkey with the Plastic Leg Holder?
No, the plastic leg holder is not heat-resistant and should be removed before cooking. Leaving it in can lead to melted plastic and contamination.
How Do I Know When the Turkey is Done?
Use a meat thermometer to check the internal temperature. The turkey is done when it reaches 165°F (74°C) in the thickest parts of the breast and thighs.
Can I Stuff the Turkey?
Yes, but ensure the stuffing reaches 165°F (74°C) to be safe for consumption. Avoid overstuffing, as this can prevent even cooking.
Conclusion
Cooking a turkey with the plastic leg holder can be confusing, but it’s essential to remove it before cooking to ensure safety and quality. By following the steps outlined in this guide, you can confidently prepare a delicious and perfectly cooked turkey for any occasion. Remember to prioritize food safety, avoid common mistakes, and experiment with different cooking methods to find your favorite.
We hope this article has answered all your questions about cooking a turkey with the plastic leg holder. If
Anime Matsuri Parking: A Comprehensive Guide For Attendees
Gabby West Virginia: Exploring The Life, Achievements, And Influence Of A Rising Star
Slow Cooker Smothered Chicken Recipe: A Comforting And Effortless Dish
How to Cook Juicy and Tender Turkey Legs THEKITCHENTODAY
How To Cook Turkey Leg In Oven
